IvyDE is Apache Ivy plugin for Eclipse and using IvyDE plugin, with just two steps you will be able to migrate your projects to auto dependency management.
Install IvyDE
In Eclipse select Help → Install New Software. Add IvyDE update site http://www.apache.org/dist/ant/ivyde/updatesite/. Following softwares are available for installation.
Apache Ivy library
Apache IvyDE Eclipse plugin
Select both and complete the installation. On Eclipse restart, menu bar will have IvyDE’s Resove button.
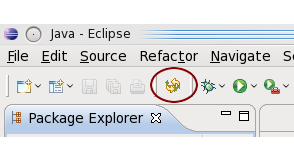
Figure A.1. IvyDE Resolve menu
Enable dependency Management
In Package Explorer, select ivy.xml of fins project. Right click to open context menu and choose Add Ivy Library… and it will open IvyDE Managed Libraries window. Select Classpath Tab and enter following details
Enable Project specific settings - select the checkbox.
Build the classpath with - select retrieved artifacts radio box.
Retrieve Pattern - enter war/WEB-INF/lib/[artifact]-[revision].[ext]
Types - enter jar,bundle
Figure shows the classpath tab with required values.
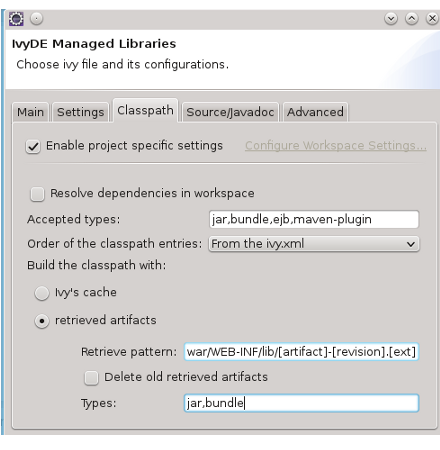
Figure A.2. IvyDE Managed Libraries
Click Finish button. Ivy downloads all required modules from public repository and adds them to war/WEB-INF/lib directory and configures the project Build Path to use these downloaded modules.That’s all; project is under Ivy dependency management.
Apache Ivy is highly configurable and powerful dependency management software and to know more refer Beginner’s Guide at Apache Ivy - Links (under Doc, tutorials, articles) or Tutorials - More Examples