In the previous chapter, we completed the WordPress Installation. In this chapter, we go through some of the important WordPress Settings that affect the site and some of them may become difficult to change in the future.
WordPress Settings
As objective of this tutorial is to guide beginners quickly to build a high performance WordPress site, we avoid discussion on each and every setting. WordPress Settings are well documented in WordPress official Codex - WordPress Administration Screen.
We leave majority of the WordPress Settings to their default value and change only a few. For the time being, it is enough if we go through the items discussed in this chapter, and when need arises, refer the settings document.
General Settings
Click on Settings to expand the menu and select General from the list.
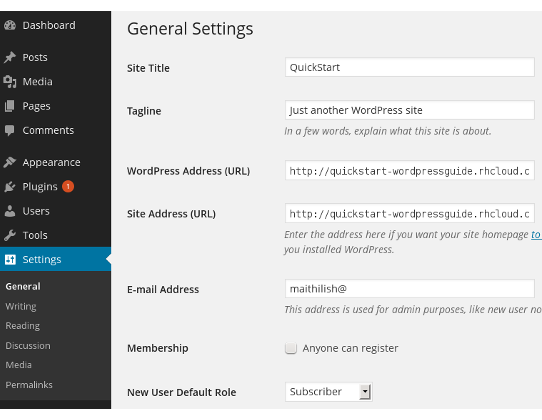
In General Settings, enter suitable Site Title, Tagline. These are displayed in the header of the site. Leave both URL and E-Mail fields to the default value populated by WordPress. If you wish to allow users to register, then check Membership field.
General Settings screen is bit lengthy, so next four fields - Time Zone, Date Format, Time Format, Week starts on - are not shown in the screenshot. Select the time zone of your country and also, choose proper Date and Time formats and save the changes.
Reading Settings
We leave settings in Writing to defaults. In Reading, we are interested in one item.
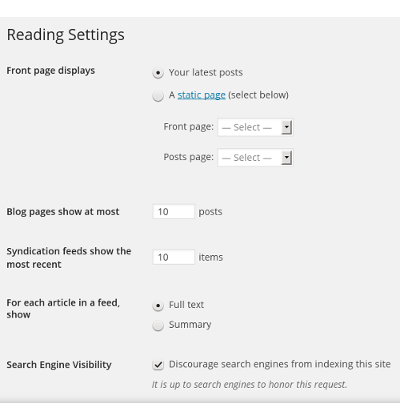
When the site is ready to go live, and then we have to uncheck the Search Engine Visibility so that search engines can start indexing the site.
Discussion Settings
These settings are related to user comments.
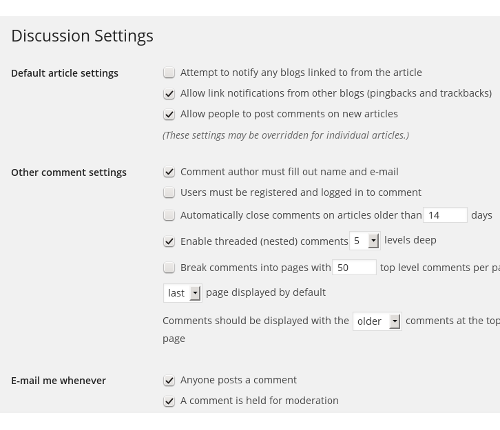
To disable comments by the user, uncheck Allow people to post comments on new articles. To disable comments from anonymous users, check Users must be registered and logged in to comment.
Media Settings
WordPress stores media files like image files, video, audio and also other uploads in its Media Library. Media settings are settings related to Media Library.
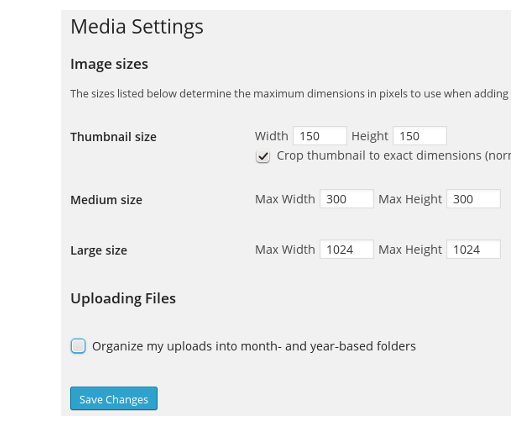
When we upload images to Media Library, WordPress saves the file in
wp-content/uploads directory. It also generates three additional
images - thumbnail, medium, large - from the uploaded one and saves them
in uploads directory. Images Size defines the size of these images,
and we leave them to their defaults.
WordPress by default saves uploaded files in month and year based
folders. For example, if we upload a media file on 10 June 2014, then it
lands in a sub folder 2014/june/ within WordPress Media Library. For
image or video oriented sites, this hierarchical scheme is useful.
However, for Post oriented sites, media link management becomes cumbersome when they land into year-month based folders. If we uncheck Organize my uploads into month and year based folder, then uploads land in Media Library folder. This flat organization of media files is easy to manage, and for codetab.org we have unchecked this field. Choose between the two based on your requirements.
Permalinks Settings
Permalink structure of the site is one of the important aspects that should be set before we add contents to the site.
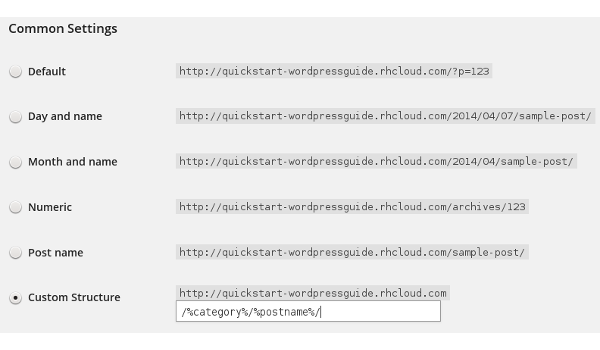
By default, WordPress uses URL with page ID in them; something like
http://quickstart-wordpressguide.rhcloud.com/?p=123. URL like these has
less appeal and also difficult handle them in case of any major
reorganization of the site. Moreover, search engines prefer keywords
rather than numbers in the URL. WordPress allows us to create a custom
URL structure for the permalinks and archives, which not only improves
the aesthetics and usability, but also forward-compatibility of the
links.
In codetab.org, we use a Custom Structure /%category%/%postname%/
which takes care of Page Ranking and other things. This permalink
structure uses category name and post title to build links and some
examples from codetab.org are:
https://www.codetab.org/tutorial/gwt/create-project/
https://www.codetab.org/tutorial/gwt/google-app-engine/google-app-engine/
https://www.codetab.org/tutorial/apache-ivy/
https://www.codetab.org/tutorial/apache-ivy/shared-repository/
With these changes, we have completed the essential settings, and ready to add contents to the site. In the next chapter, we cover WordPress contents - Posts, Pages and Media Library.